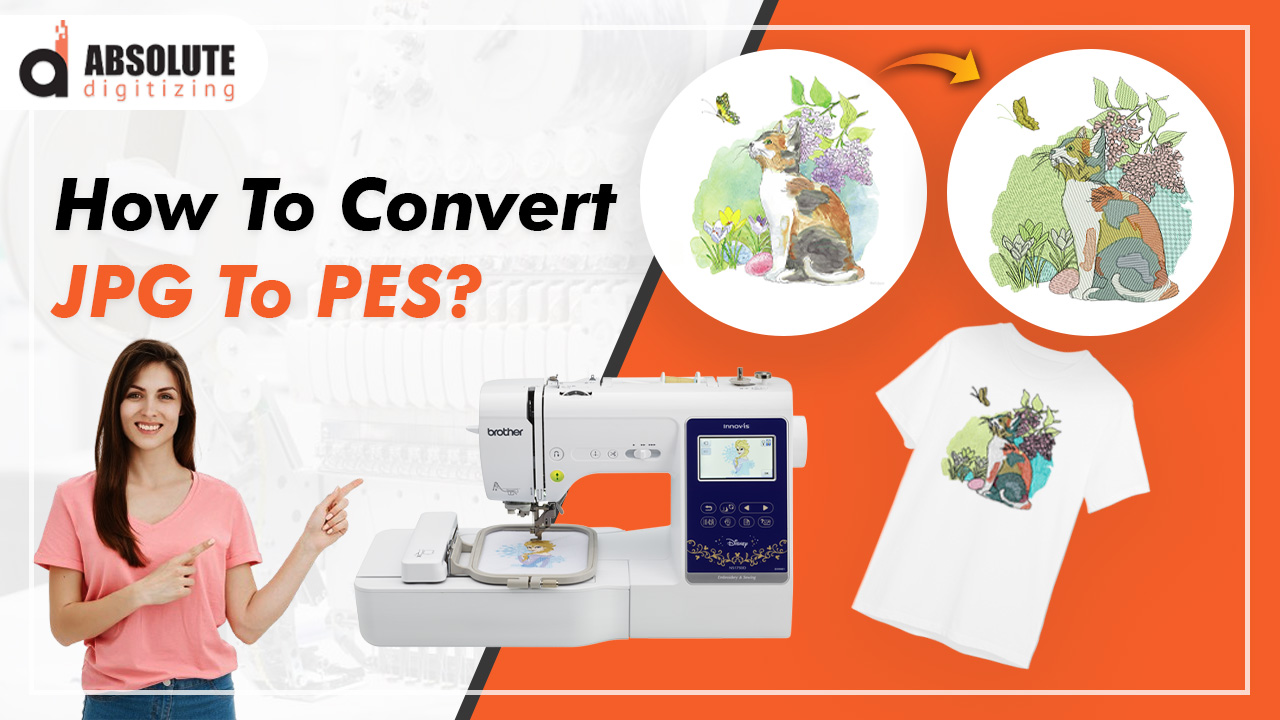
Converting JPG images to PES format is essential for anyone looking to bring custom designs to life on an embroidery machine. While JPG is a common image format, PES files contain the specific stitch information embroidery machines require to recreate the design on fabric. The process of converting a JPG to PES involves specialized software and techniques to ensure the image is translated accurately into stitch instructions. Here’s an in-depth look at how you can convert JPG files to PES for embroidery.
Understanding the PES Format in Embroidery
The PES file format is widely used by Brother and Baby Lock embroidery machines and is the standard for many embroiderers. Unlike JPG, which is a flat, raster image, PES files contain detailed data about stitches, color sequences, and machine settings that guide the embroidery machine in creating the design. When converting a JPG to PES, each line and color needs to be represented in stitch form, making digitizing software a crucial part of the process.
Step-by-Step Process of Converting JPG to PES
Converting a JPG to PES generally requires embroidery digitizing software such as Wilcom, Hatch, or Brother’s PE-Design. The process starts by importing the JPG file into the software, where it’s analyzed and outlined as a digital embroidery file. Users then set stitch types, densities, and colors for each part of the image. Once complete, the file is saved in the PES format and ready for use in embroidery machines. Some software also offers automated “auto-digitizing” options, though manual adjustments are often necessary to achieve the best results.
Important Considerations for a High-Quality Conversion
Achieving a quality conversion from JPG to PES requires careful consideration of the design’s complexity and color palette. Intricate details in the JPG image may need to be simplified, as embroidery stitches are typically thicker than the pixels in a digital image. Colors can also be limited by thread availability, so selecting colors that closely match your JPG’s design is key. Adjusting these aspects ensures that the design will translate well on fabric without excessive thread breakage or loss of detail.
Recommended Software for JPG to PES Conversion
While there are several tools available for JPG to PES conversion, software like Wilcom, Hatch, and Brother PE-Design are highly recommended for their robust features and reliability. They provide extensive customization options, from adjusting stitch direction to setting pull compensation for different fabrics. Free software options exist as well, but they often lack the advanced features needed to achieve optimal results in complex designs. Using professional software is advisable for anyone working with detailed logos or images that require precision.
Testing and Finalizing the PES File
After converting a JPG to PES, it’s essential to test the design on the intended fabric to ensure it stitches out as expected. Testing allows you to spot and correct any issues with stitch density, color, or alignment. Making final adjustments in the software can enhance the design’s quality, ensuring the best possible results on the final fabric. Once you’re satisfied with the test, the PES file is ready for the full embroidery project.
Converting a JPG to PES can be a rewarding process, allowing you to bring custom designs to life in a detailed, high-quality embroidery. By using the right software and techniques, and paying attention to details throughout the process, you’ll create a PES file that translates beautifully to fabric. For those looking for professional assistance, companies like Absolute Digitizing offer skilled digitizing services to help create precise and vibrant embroidery-ready designs from any JPG.
