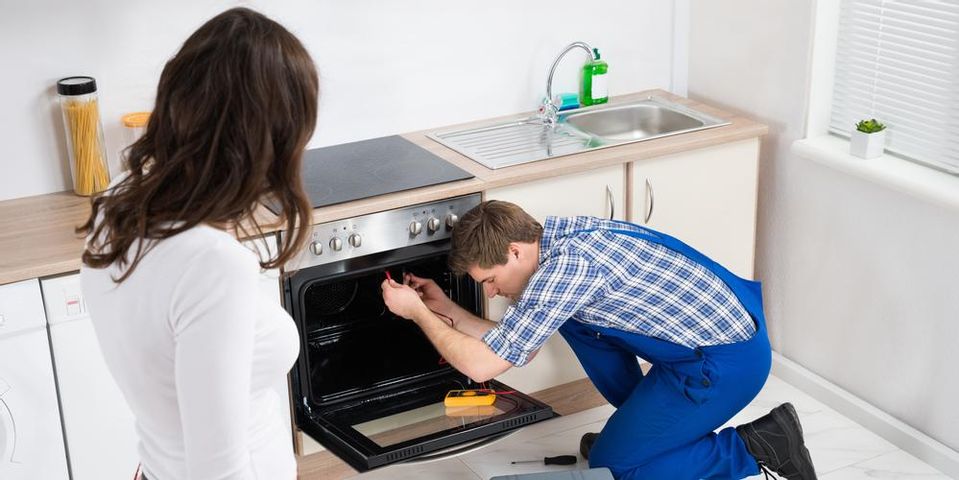
Replacing an oven door lock motor might seem like a daunting task, especially if you’re not familiar with appliance repairs. However, with the right guidance and a bit of patience, you can tackle this oven repair yourself. This blog will walk you through the steps required to replace an oven door lock motor, ensuring that you can get your oven back in working order with minimal hassle.
Understanding the Oven Door Lock Motor
The oven door lock motor is a crucial component in self-cleaning ovens. It ensures that the oven door remains securely locked during the self-cleaning cycle to prevent any accidents. When this motor fails, you may experience problems such as the oven door not locking properly, or it might remain locked even after the cleaning cycle has ended.
If you’re experiencing issues with your oven door lock, it’s important to diagnose the problem accurately. Common signs of a faulty door lock motor include:
- The door not locking or unlocking.
- Error codes displayed on the oven’s control panel.
- Strange noises coming from the oven during the cleaning cycle.
Tools and Materials You’ll Need
Before you begin, gather the following tools and materials:
- Replacement oven door lock motor (make sure it’s compatible with your oven model).
- Screwdrivers (both Phillips and flathead).
- Pliers.
- Towels or rags.
- A flashlight or work light.
- Multimeter (optional, for diagnosing electrical issues).
Safety First
Safety should be your top priority when working with electrical appliances. Follow these precautions:
- Disconnect Power: Ensure the oven is unplugged or, if it’s hardwired, turn off the power at the circuit breaker. This will prevent any risk of electric shock.
- Cool Down: If the oven was recently used, allow it to cool down completely before starting the repair.
- Read the Manual: Consult your oven’s user manual for specific instructions related to your model.
Step-by-Step Guide to Replacing the Oven Door Lock Motor
1. Remove the Oven Door
To access the door lock motor, you’ll need to remove the oven door. Follow these steps:
- Open the Door: Open the oven door to its fully extended position.
- Locate the Hinges: Most oven doors have hinge locks. Slide the hinge locks towards the door’s center to disengage them.
- Remove the Door: Gently lift the door off the hinges. This might require a bit of force, so be prepared to ask for assistance if needed.
2. Access the Door Lock Motor
Once the door is removed, you can access the door lock motor. The motor is typically located inside the oven door itself or behind the door panel.
- Inspect the Door: Check for screws or clips holding the door panel in place. Use your screwdriver to remove these fasteners.
- Open the Door Panel: Carefully separate the door panel from the rest of the door assembly. Be cautious, as there might be fragile components inside.
3. Locate and Remove the Faulty Motor
With the door panel removed, locate the door lock motor. It’s usually situated near the latch mechanism.
- Disconnect Wires: Note the wiring connections to the motor. It’s a good idea to take a photo for reference. Carefully disconnect the wires from the old motor.
- Remove the Old Motor: Unscrew or unclip the motor from its mounting bracket. Set the old motor aside.
4. Install the New Door Lock Motor
Now it’s time to install the new motor.
- Position the New Motor: Place the new motor into the mounting bracket. Ensure it’s aligned correctly.
- Connect Wires: Attach the wires to the new motor, matching the connections you documented earlier.
- Secure the Motor: Fasten the motor using screws or clips.
5. Reassemble the Oven Door
With the new motor in place, reassemble the oven door.
- Reattach the Door Panel: Carefully place the door panel back onto the door assembly. Secure it with screws or clips.
- Reinstall the Door: Position the door on the hinges. Slide the hinge locks into place to secure the door.
6. Test the Repair
Before using the oven, it’s crucial to test the repair.
- Reconnect Power: Plug the oven back in or turn the power back on at the circuit breaker.
- Test the Door Lock: Set the oven to the self-cleaning cycle and ensure the door locks and unlocks properly. Listen for any unusual noises that might indicate a problem.
Troubleshooting Common Issues
If you encounter issues after replacing the motor, consider the following troubleshooting tips:
- Door Still Won’t Lock: Double-check the wiring connections and ensure the motor is properly secured.
- Error Codes Persist: Consult your oven’s user manual for specific error codes related to the door lock mechanism.
- No Power: Verify that the oven is receiving power and that the circuit breaker hasn’t tripped.
When to Call a Professional
While many DIY enthusiasts can successfully replace an oven door lock motor, there are situations where it’s best to call a professional. If you’re uncomfortable working with electrical components or if the problem persists after replacement, contacting a technician might be the safest option.
Commercial ovens repair specialists are particularly skilled in handling more complex issues and can ensure that your appliance is restored to optimal condition.
Conclusion
Replacing an oven door lock motor can be a manageable task with the right tools and instructions. By following this guide, you can perform the repair yourself and save on service costs. However, always prioritize safety and consult a professional if you’re unsure or face persistent issues. With a properly functioning door lock motor, your oven will be ready for its next cleaning cycle, ensuring both safety and efficiency.
Feel free to reach out if you have any questions or need further assistance with oven repairs!
