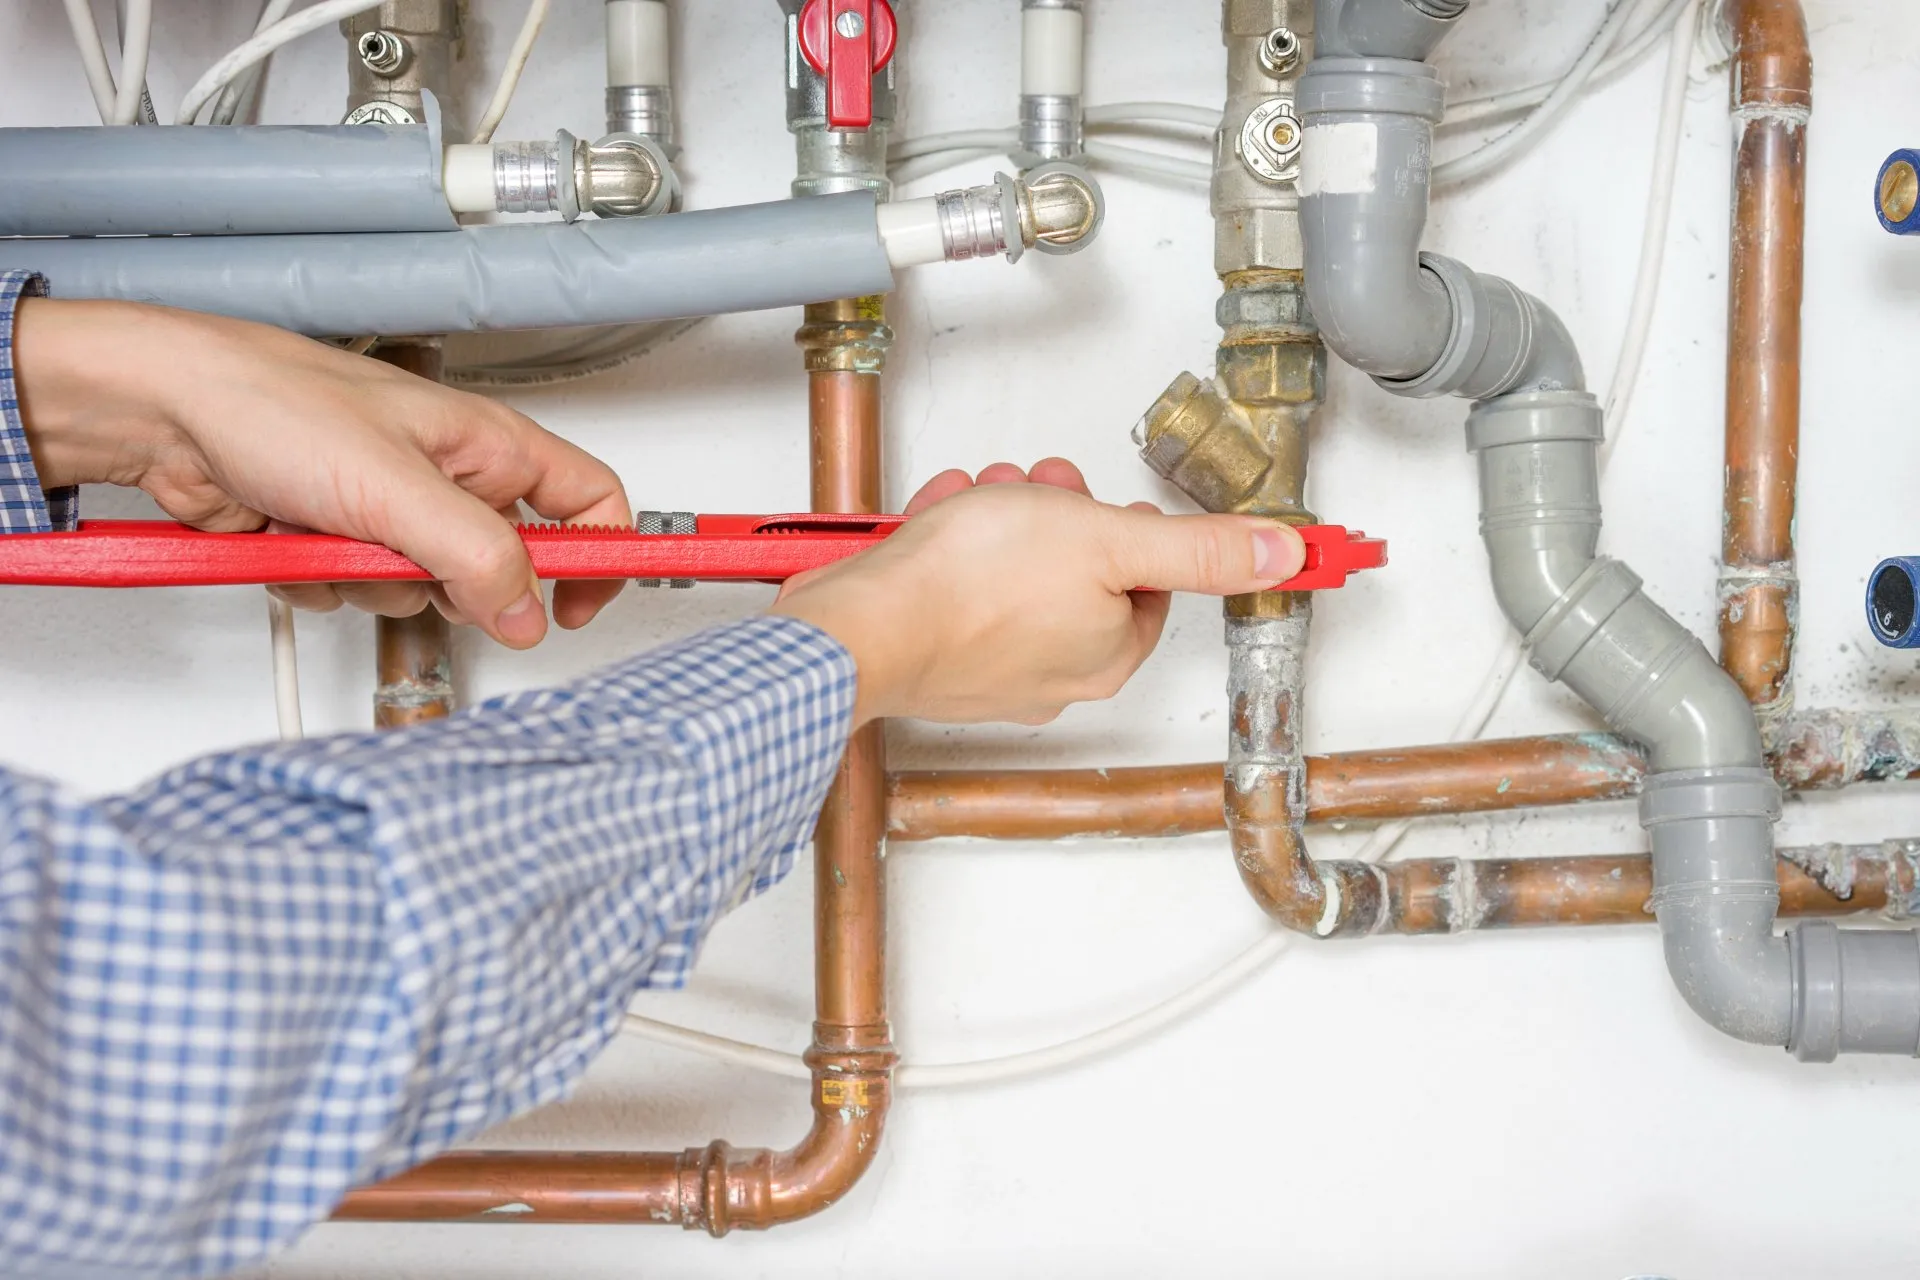
Plumbing leaks can be a homeowner’s nightmare, causing damage to property and leading to costly repairs if not addressed promptly. From hidden leaks behind walls to visible drips under sinks, identifying the source of a plumbing leak is crucial for effective repair. In this comprehensive guide, we’ll explore the steps to locate a leak in your plumbing piping repair, empowering you to tackle this common household issue with confidence.
Signs of a Plumbing Leak
Before diving into the detection process, it’s essential to recognize the signs of a plumbing leak. Ignoring these indicators can exacerbate the problem and result in extensive damage. Keep an eye out for:
Visible Water Damage
Water stains on ceilings or walls, warped flooring, and peeling paint are telltale signs of a plumbing leak. Don’t overlook even minor discoloration, as it could indicate a more significant issue behind the scenes.
Unexplained Increase in Water Bills
If your water bill suddenly spikes without a corresponding increase in usage, there’s a good chance you have a hidden leak. Monitoring your water consumption can help detect leaks early and prevent financial surprises.
Mold or Mildew Growth
Moist environments provide the perfect breeding ground for mold and mildew. If you notice musty odors or fuzzy patches in damp areas of your home, it’s time to investigate for leaks.
Steps to Locate a Plumbing Leak
Locating a plumbing leak requires a systematic approach, starting with a visual inspection and progressing to more advanced techniques if necessary. Follow these steps to pinpoint the source of the leak:
Check Visible Pipes
Begin by examining accessible plumbing fixtures and pipes for any visible signs of leakage. Look for dripping faucets, puddles under sinks, and dampness around pipe joints. These visible clues can often lead you directly to the source of the problem.
Monitor Water Meter
For concealed leaks that aren’t immediately apparent, your water meter can serve as a valuable detective tool. Turn off all water-using appliances and fixtures in your home, then check the meter. If it continues to register water usage despite no active consumption, you likely have a leak.
Perform a Dye Test
A dye test is a simple yet effective method for detecting leaks in toilet tanks and drains. Add a few drops of food coloring to the tank and wait without flushing. If colored water appears in the bowl within a few minutes, it indicates a leaky flapper valve that requires replacement.
Tools Needed for Leak Detection
While some leak detection methods require only keen observation, others necessitate specialized tools to uncover hidden leaks. Be prepared with the following equipment:
Flashlight
Illuminate dark corners and recesses to inspect for leaks with precision.
Moisture Meter
Detect hidden moisture levels in walls, floors, and ceilings, guiding you to potential leak sources.
Pressure Gauge
Measure water pressure to identify abnormalities that may indicate a leak in the plumbing system.
Common Locations for Plumbing Leaks
Understanding the typical areas prone to leaks can streamline your detection efforts. Keep an eye on:
Under Sink:
Check for drips, puddles, or signs of corrosion around pipe connections.
Around Toilets:
Inspect the base of toilets for water accumulation, indicating a faulty wax ring.
In Walls or Floors:
Look for damp spots, water stains, or bulging areas, signaling hidden pipe leaks.
Importance of Timely Leak Detection
Prompt detection of plumbing leaks is paramount to prevent extensive damage to your home and belongings. Addressing leaks early can save you from costly repairs, mold remediation, and structural issues down the line.
DIY vs. Professional Leak Detection
While some leaks can be resolved with DIY methods, others may require the expertise of a licensed plumber. Knowing when to call in a professional can save you time, money, and frustration, ensuring the leak is properly diagnosed and repaired.
Steps to Fix a Plumbing Leak
Once you’ve identified the source of the leak, it’s time to take action. Follow these steps to address the issue effectively:
Shut Off Water Supply:
Locate the main shut-off valve and turn off the water supply to prevent further leakage.
Repair or Replace Damaged Pipe:
Depending on the severity of the leak, you may need to repair or replace the damaged section of pipe.
Test for Leaks:
After making repairs, thoroughly test the affected area for leaks to ensure the problem has been resolved.
FAQs
How do I know if I have a plumbing leak?
Look for visible signs such as water stains, dampness, or mold growth, and monitor your water meter for unexplained increases in usage.
Can I detect plumbing leaks on my own?
Yes, many leaks can be detected with a visual inspection and basic tools. However, concealed leaks may require professional assistance.
What should I do if I discover a plumbing leak?
Shut off the water supply, identify the source of the leak, and either repair it yourself or call a licensed plumber for assistance.
Are plumbing leaks covered by homeowner’s insurance?
It depends on the cause of the leak and your insurance policy. Generally, sudden and accidental leaks are covered, while gradual leaks may not be.
How can I prevent plumbing leaks in the future?
Regularly inspect plumbing fixtures, address minor leaks promptly, and consider installing leak detection devices for added protection.
Conclusion
Locating a leak in your plumbing piping repair requires keen observation, systematic inspection, and the right tools for the job. By staying vigilant for signs of leaks, conducting regular maintenance, and addressing issues promptly, you can safeguard your home against water damage and costly repairs.
