Capturing the beauty and magic of pregnancy through a maternity photoshoot is a cherished experience for many expectant mothers. While professional photographers can provide stunning results, doing a maternity photoshoot by yourself can be equally rewarding and allows for a more personal touch. Here are some comprehensive tips to help you create beautiful maternity photos on your own.
Planning Your Photoshoot
- Choose the Right Time: The best time for a maternity photoshoot is usually between 28 and 36 weeks. During this period, your belly is prominently showing but you’re not too close to your due date, ensuring you’re more comfortable.
- Select a Theme: Decide on a theme that resonates with you. It could be something simple and elegant, like a nature-inspired shoot, or something more stylized. Having a theme helps guide your wardrobe, location, and props.
- Location, Location, Location: Choose a location that is meaningful to you and offers good lighting. This could be a cozy corner in your home, a beautiful park, a beach, or even an urban setting. Make sure the location is safe and comfortable for you.
- Plan Your Outfits: Select outfits that highlight your baby bump and make you feel beautiful. Flowy dresses, fitted tops, and skirts are popular choices. Solid colors or subtle patterns work well. You might want to plan a couple of outfit changes to add variety to your photos.
- Gather Props: Props can add a personal touch to your photos. Items like baby shoes, ultrasound pictures, baby clothes, or letter boards with special messages can be incorporated.
Setting Up Your Shoot
- Camera and Equipment: You don’t need an expensive camera to get great shots. A good quality smartphone or a DSLR camera with a tripod will work fine. A remote shutter or self-timer feature is essential to take pictures hands-free.
- Lighting: Natural light is your best friend. Try to shoot during the golden hour (shortly after sunrise or before sunset) when the light is soft and warm. If shooting indoors, position yourself near a window to take advantage of natural light. Avoid harsh overhead lights that can create unflattering shadows.
- Backdrop: Keep the backdrop simple to ensure the focus remains on you and your bump. A plain wall, a beautiful garden, or the open sky can serve as great backdrops. If indoors, tidy up the area to avoid distracting elements.
Posing and Composition
- Showcase Your Bump: Poses that highlight your belly are essential. Stand sideways to the camera, gently hold your bump, or place your hands in a heart shape over your belly. You can also sit or lie down in a comfortable position that shows off your silhouette.
- Use Angles to Your Advantage: Experiment with different angles to find the most flattering perspective. Shooting from slightly above can be slimming, while a lower angle can make your bump look more pronounced.
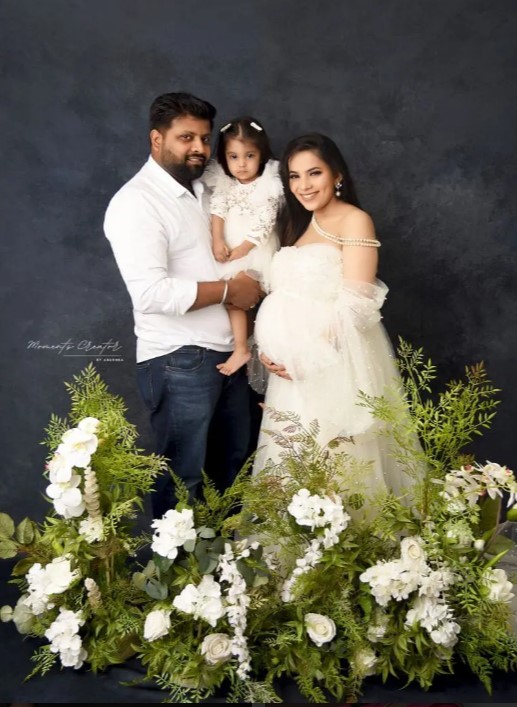
- Include Your Partner and Family: If you have a partner or other children, include them in some shots. Have your partner kiss your belly, or hold hands over your bump. Get creative with how you involve your family.
- Emphasize Emotion: Capture the emotions of this special time. Laugh, smile, and look down lovingly at your belly. Natural, candid moments often make the best photos.
- Composition Techniques: Use the rule of thirds to create balanced compositions. Imagine a grid on your viewfinder and place your subject off-center at one of the intersections. Leading lines, such as paths or rows of trees, can guide the viewer’s eye to the subject.
Practical Tips
- Take Multiple Shots: Take plenty of photos from different angles and with varied expressions. This gives you more options to choose from later.
- Review and Adjust: Periodically check the photos to ensure they are turning out as expected. Adjust your position, lighting, or camera settings as needed.
- Stay Comfortable: Listen to your body and take breaks as needed. The photoshoot should be enjoyable and not physically taxing.
- Safety First: Ensure the environment is safe and free from hazards. Avoid any poses or locations that could be risky.
Editing and Final Touches
- Basic Edits: Use photo editing apps or software to make basic adjustments like brightness, contrast, and cropping. Apps like Lightroom, Snapseed, or even your phone’s built-in photo editor can work wonders.
- Add Filters: Subtle filters can enhance the mood of your photos. Choose ones that complement the theme and feel of your shoot without overpowering the natural beauty.
- Retouching: If desired, use retouching tools to smooth skin or remove minor imperfections. Be careful not to overdo it; the goal is to enhance, not alter.
- Create a Photo Book or Album: Once you have selected and edited your favorite photos, consider creating a photo book or album. This makes for a beautiful keepsake to cherish the memories of your pregnancy.
Conclusion
A DIY maternity photoshoot can be a fun and rewarding way to capture the beauty of your pregnancy. With a bit of planning, creativity, and the right techniques, you can create stunning photos that reflect your unique journey into motherhood. Learn More